I stamped a bunch of 'critters', or little images a week ago. Used a jig. I remember talking to a friend recently and she had no idea what my jig is about, and I have shown her a dozen times. It really makes your life easier than trying to stamp into a diecut. I can't stamp anything small without getting it crooked! So, yes, this is how we make a jig........
Just use a 5x8 or whatever size will accommodate your stamp set. This is Hello bluebirds 'snowball fight' from 2021. There are alot of dies here, but some sets are just 3-4 dies and you can use a smaller piece of paper. I want my paper to fit on the MISTI. That is key. And make sure there is enough space between the cuts to lay your clear stamps each in the corresponding spaces. Carefully fit them in. Then lower the Misti door/cover. It will pick up all the stamps at once. Now go back, and cut more images. I usually cut 3 sets. One to use, two to have for later use. Also you can cut the images closer together, saving paper.
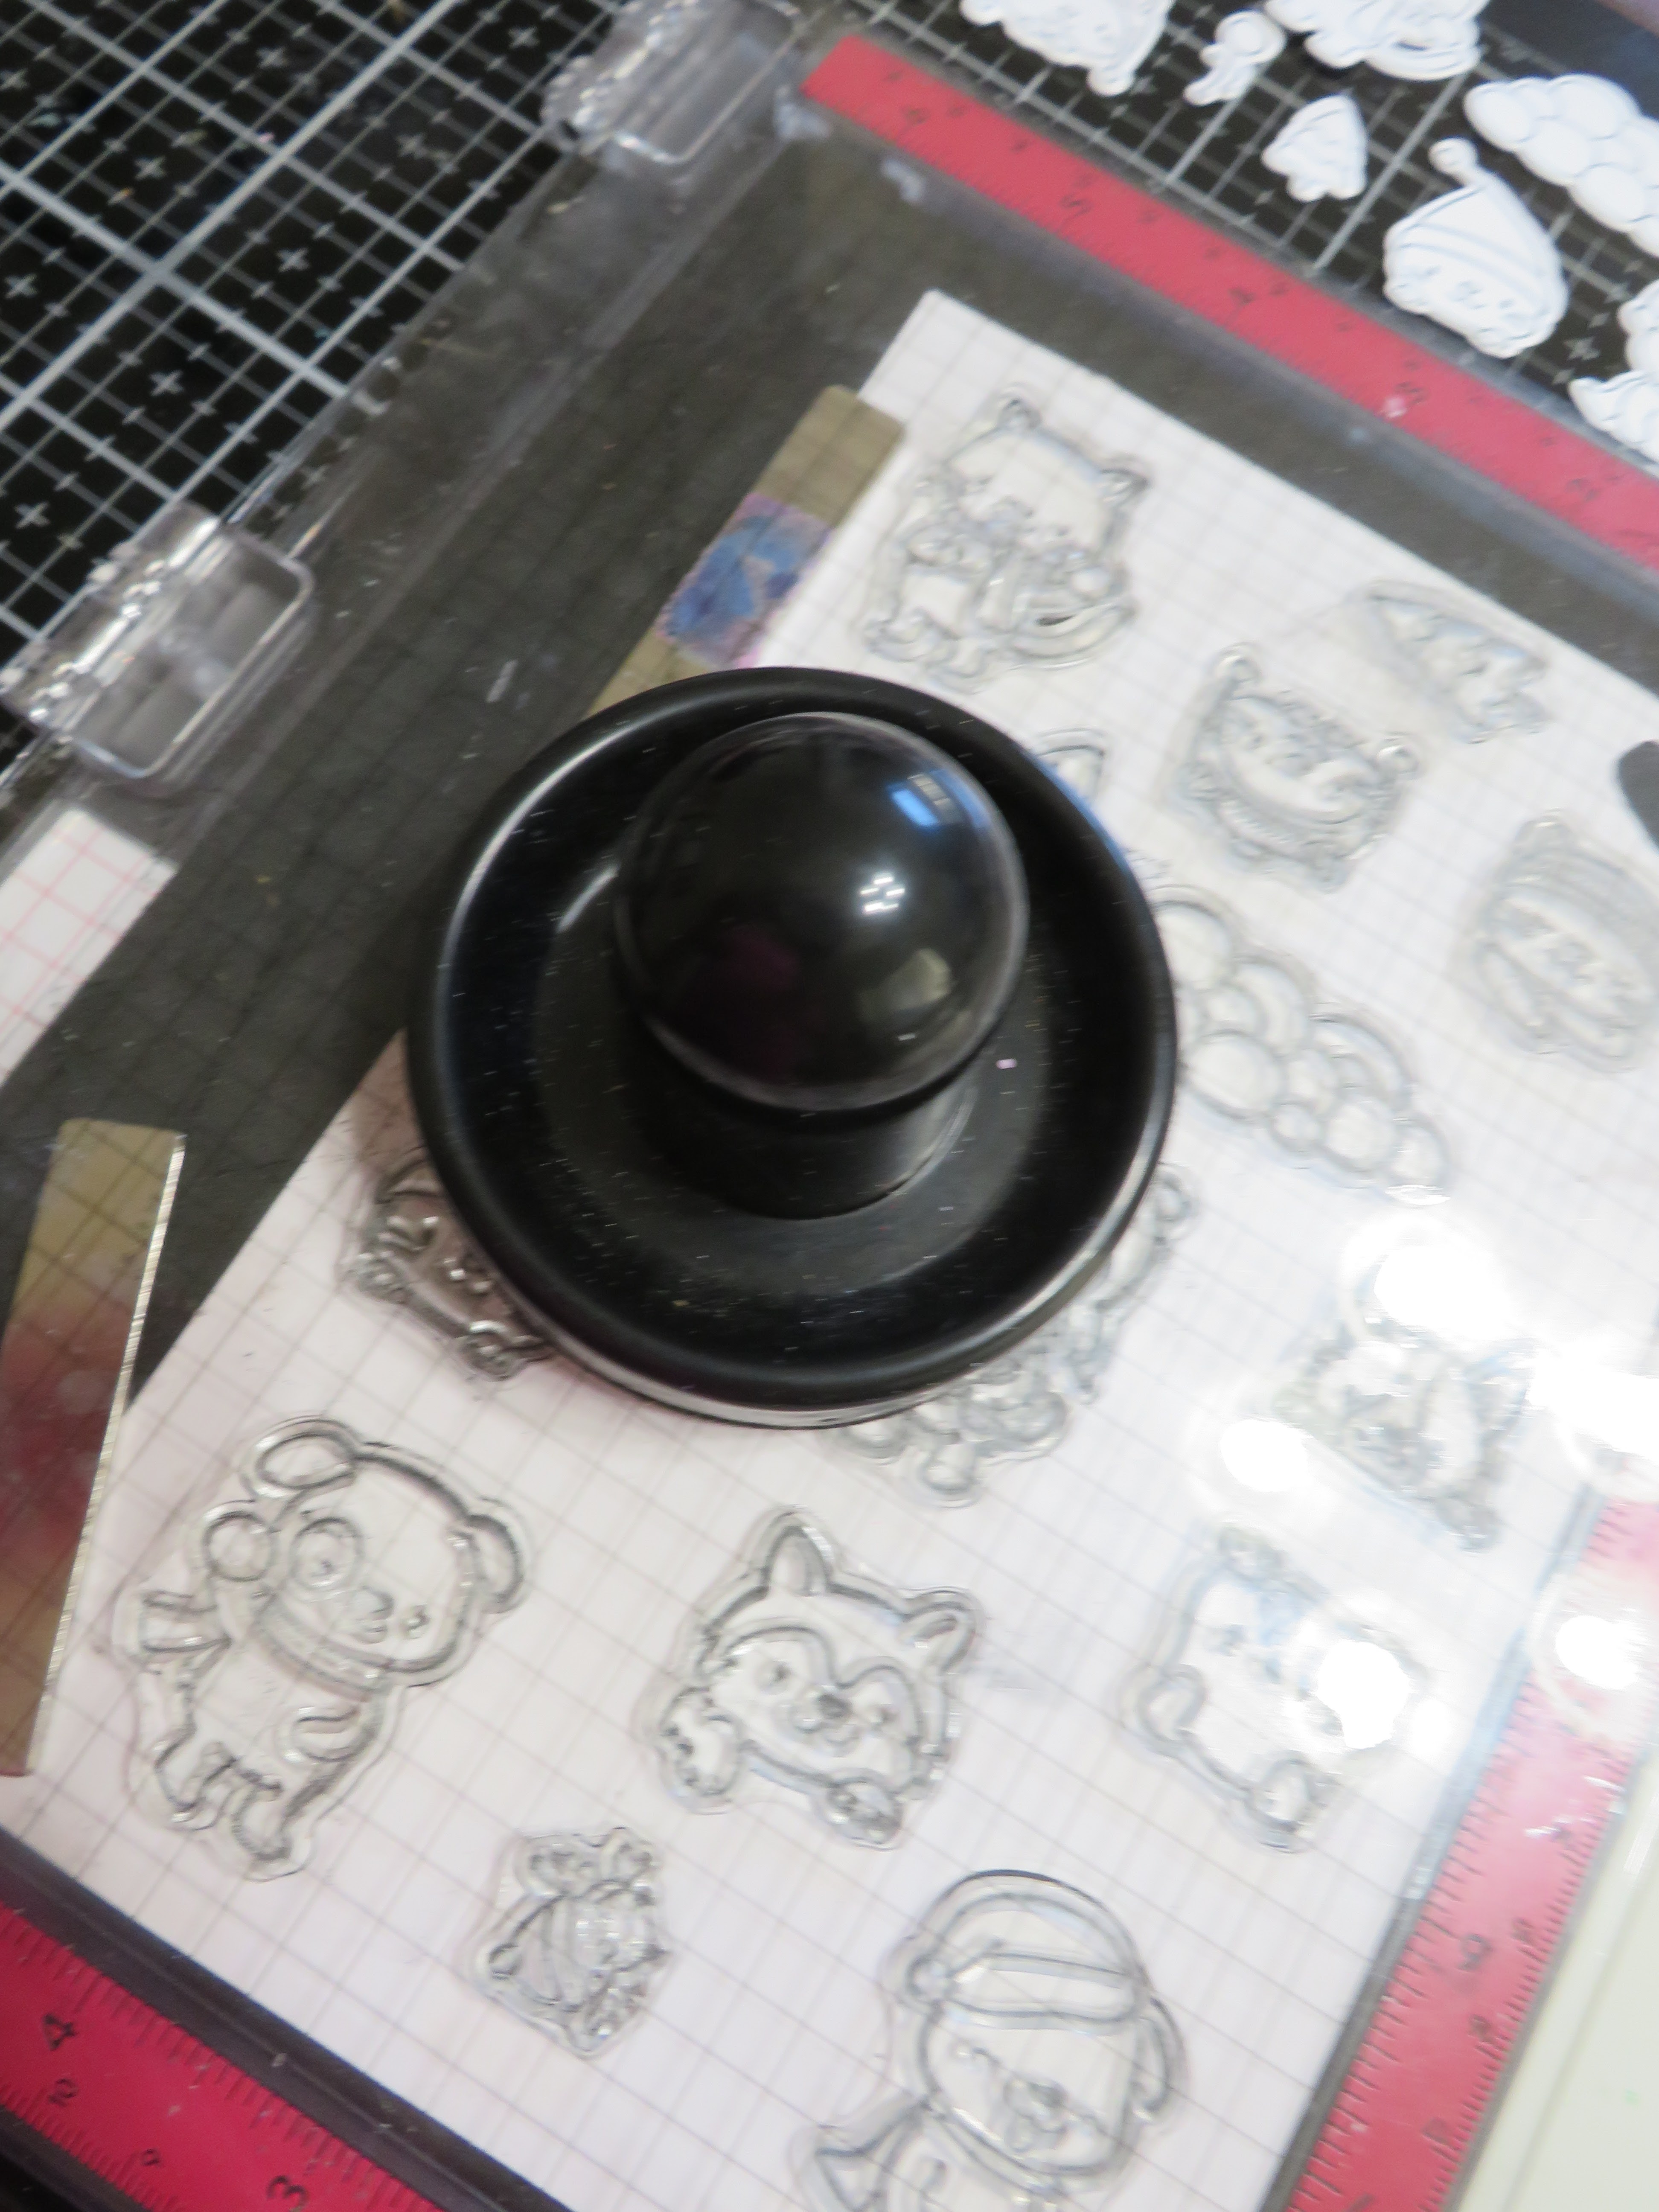
Stamps are on misty ready to stamp. Don't move your jig! Put the cut images in the corresponding image. Sorry the picture is horizontal, but I think its okay.
Close the misty door and stamp the images all at once! Set up the 2nd set of dies and put in the misty.
Stamp again all at once. Aren't they cute & ready to color. FYI: you are using the misty, so if the image doesn't impress like you want. stamp it again. Don't move the jig!! One more really important thing. SAVE YOUR JIG. I keep mine with the stamps & dies in a storage bag. All you have to do the next time is re-position the stamps to fit the jig on the misti.
If there are any questions, please let me know.
Thanks for looking!
Mary


No comments:
Post a Comment