Still on Gracie watch... Good days and bad days.
September has been sort of slow in the creative department. Although when I found these little boxes, I was hooked. The instructions are in polish ,the video is good, but sooo quick! I watched it dozen times. I also modified the instructions some.
http://www.ignatova-marina.ru/ There is a tiny
word prompt here.. click that and it will take you to the video.
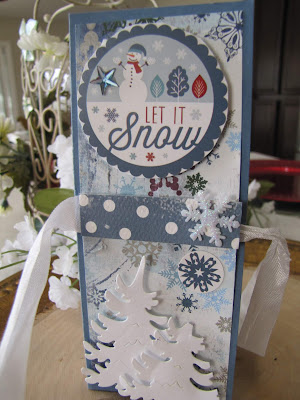
First let me say, my first one was a disaster! The next two are Christmas themed and turned out pretty nice. A Vintage Christmas. This is the front of the box.
 |
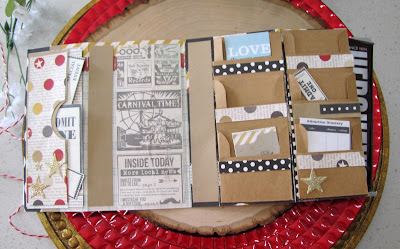
This is the inside of the box. The front cover is on the back of the 'reindeer ephemera' and the chocolate box is behind the red pockets! The next photo below is the back of the book. Notice on mine, there are two 'spines' in the book. The instructions indicated they should be different sizes, but I did make they both 1 inch. My book is one 12x12 designer paper cut in half. 6x12. On your scoreboard, score across the horizontal side at 2-1/2, 5, 6, 8-1/2 and 9-1/2. Works perfectly.
|

The decorative accent papers are 5-3/4 long and 2-3/8. Between the spines, or folds is really about 2-1/2 inches. You could do the width of the accent pieces 2-1/4. Remember the pockets can't be any wider than that or the book won't fold. If you use the 2-1/4 accent piece, maybe use a pocket width of only 2 inches.
Next 'Christmas' box.
The inside cover, with the chocolate box folded over the pockets. Notice the left side with the skates. It is glued only on the outside edges for that other pocket. Wish I would've taken more pics, but I needed more ephemera and nothing felt 'right'! FYI: again all ephemera has to be pretty flat to fold. The front cover is the only exception.
Think how fun to do a Halloween one!
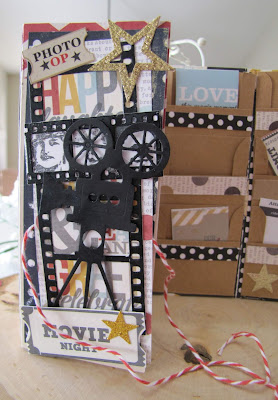
This next box is my favorite! It is pretty well decorated, and I used old simple stories paper and a 'movie projector' die from Wish. Fun!
Thanks for looking!
Mary


